
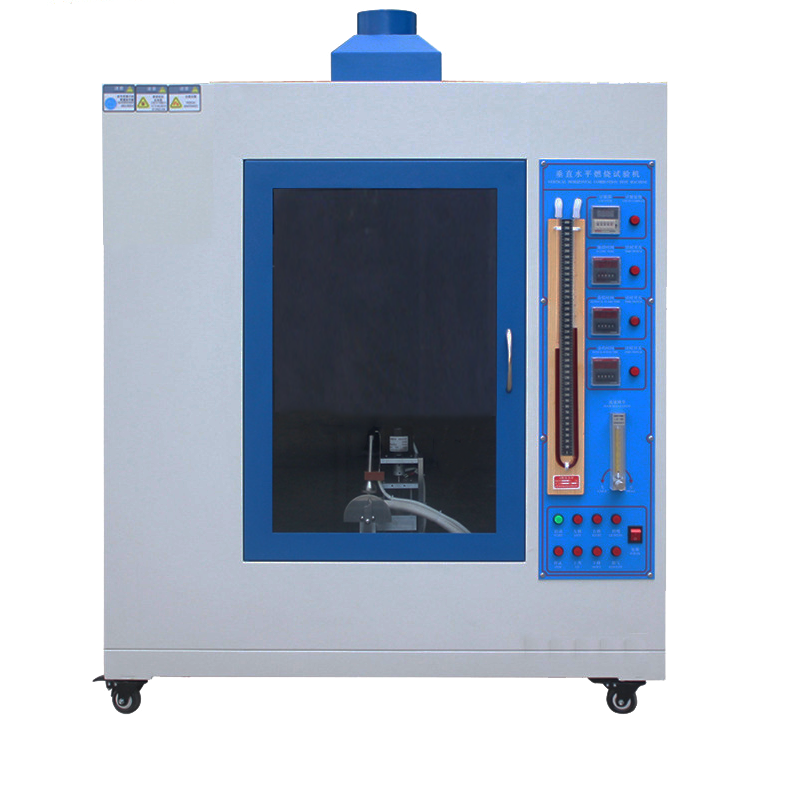
Bundle cable combustion testing machine
136005.0 INR/Unit
Product Details:
- Temperature 10C to 40C (operation)
- Operating Voltage 220V AC
- Automation Grade Semi-automatic
- Features Automatic timing, flame monitoring, data output
- Frequency 50 Hz
- Gas Pressure 0.2-0.4 MPa
- Number of Specimens 1 - 12 (bundle arrangement)
- Click to view more
X
Bundle cable combustion testing machine Price And Quantity
- 136005.0 INR/Unit
- 1 Unit
- Heat-resistant transparent glass
- Internal memory and USB export
- Emergency stop, overheat protection, flame arrestor
- 15 min as per standard
- Built-in exhaust fan for smoke removal
- Built-in illumination for observation
- Stainless steel, corrosion resistant
- < 55 dB(A)
- Propane or methane, selectable
- 20° or 45° adjustable
- Fume extraction, water cooling recommended
- Propane gas burner, compliant with IEC/EN 60332-3
- IEC 60332-3, EN 50266-2-4
- ±0.2 sec
- Rungs/bar with 300 mm vertical spacing
Bundle cable combustion testing machine Product Specifications
- G1/2 (Gas Inlet)
- Floor-standing
- Flammability Test Equipment
- Digital LCD Display
- Fire resistance and propagation testing
- Fire performance testing for bundle cables
- Multiple cable diameters (per IEC/EN 60332-3)
- 20 cm 1000 cm
- Adjustable, 0-200 mm/min
- 3000 mm (test chamber)
- 2 mm flame height
- AC 220V, 50Hz
- Cable bundles up to 3 m in length
- Flame height: 02500 mm
- RS232 / USB
- Up to 600 mm
- 1 mm
- 1 - 12 (bundle arrangement)
- 0.2-0.4 MPa
- <2 seconds
- 30%-85% RH (operating)
- 10C to 40C (operation)
- Semi-automatic
- 220V AC
- PLC Controlled, Touch Screen Interface
- Up to 1000 mm
- 50 Hz
- Approx. 250 kg
- Automatic timing, flame monitoring, data output
- Heat-resistant transparent glass
- Internal memory and USB export
- Emergency stop, overheat protection, flame arrestor
- 15 min as per standard
- Built-in exhaust fan for smoke removal
- Built-in illumination for observation
- Stainless steel, corrosion resistant
- < 55 dB(A)
- Propane or methane, selectable
- 20° or 45° adjustable
- Fume extraction, water cooling recommended
- Propane gas burner, compliant with IEC/EN 60332-3
- IEC 60332-3, EN 50266-2-4
- ±0.2 sec
- Rungs/bar with 300 mm vertical spacing
Bundle cable combustion testing machine Trade Information
- Cash in Advance (CID)
- 100 Unit Per Month
- 5 Days
- All India
Product Description
STANDARD FEATURES
| Burning Chamber Capacity | 0.75m with glass observation door |
| Burning Angle | 20 , 45 , 90 (ie 0 ) adjustable |
| Flame Time | 0 ~ 99 minutes 99 seconds can be set |
| After Flame Time | 0 ~ 99 minutes 99 seconds can be set |
| After Glow Time | 0 ~ 99 minutes 99 seconds can be set |
|
Burner Dimensions | The inner diameter of the nozzle is 9.50.3mm, the effective length of the nozzle is 10010mm, and there is an air adjustment hole |
| Combustion Gas | LPG gas (Customize) |
| Flame Height | Adjustable from 20mm to 175mm as standard |
|
Features | It is also equipped with lighting device, air extraction device, gas flow regulating valve, gas pressure gauge, gas pressure regulating valve, gas flow meter, gas U-shaped pressure gauge and sample fixture |
| Power | AC 220v 50HZ |
The bunched cable combustion tester is mainly used to detect the ability of vertically installed bunched cables or fiber optic cables to inhibit the vertical spread of flame under specified conditions. The equipment is widely used in power cables, control cables, fiber optic cables and other bunched combustion test, is the wire and cable industry quality control and ensure product safety performance of an important tool.
I. Main Functions
1. Flame retardant performance test: Evaluate the flame retardant performance of bunched cables under flame conditions and determine their ability to inhibit flame spread.
2. Simulation of fire scenarios: Simulate actual fire scenarios by accurately controlling the flame temperature and burning time to test the flame retardancy of cables34.
3. Data recording and analysis: Record indicators such as the speed of fire spreading and self-extinguishing time of the cable to judge its flame retardant level4. 4.
4. Safe design: Equipped with an emission purification system to ensure that the exhaust gas generated during the test is initially purified and treated to prevent pollution of the environment.
Second, the test steps
1. Start the equipment: turn on the power, start the test program, and confirm that all indicators show normal.
2. light the flame: open the gas device, adjust the flow rate to the appropriate value, light the blowtorch and adjust the flame.
3. Start the test: Aim the blowtorch at the specimen, start the combustion test, observe and record the combustion of the specimen.
4. Monitor and record: pay close attention to the operating status of the equipment and the combustion of the specimen, and stop the test immediately if there is any abnormality 6.
III. Post-test treatment
1. extinguish the flame: after the test, extinguish the blowtorch in time, turn off the gas device and power supply7. 2.
2. Handle the specimen: remove the specimen for cleaning and inspection, and assess the degree of damage7.
3. writing a report: write a test report based on the test data and observations7.
Analysis of test results
1. Burning time: Record the flamed burning time and flameless burning time to analyze the flame retardancy of the specimen.
2. Burning length: Measure the distance of flame propagation along the surface of the specimen to evaluate the flame spreading speed.
3. Drops: Observe whether there are burning drops and their burning condition during the test.
4. flame spread: observe the flame spread speed and direction on the specimen.
5. Afterflame and afterburning: Record the duration of afterflame and afterburning after the specimen has withdrawn from the flame.
6. Charring Height: Measure the height reached by the charred portion of the specimen, compare it with the standard, and determine whether it passes or fails.
Precision Testing for Cable Fire Safety
This machine offers versatile testing of cable bundles with burner angles set at 20 or 45, ensuring compliance with IEC 60332-3 standards. The adjustable test speed and width accommodate various specimen sizes, while PLC-controlled automation enhances accuracy and efficiency during fire resistance assessment.
Advanced Safety and Monitoring Features
Equipped with an emergency stop, overheat protection, and flame arrestor, the machine ensures operator safety during tests. The built-in exhaust fan controls smoke, while internal illumination and a heat-resistant observation window promote clear test observation in real-time.
User-Friendly Data Handling and Operation
Operators benefit from an intuitive touch screen interface and automatic timing. Measurement results such as flame height are displayed digitally with quick response, and data can be conveniently exported via USB, facilitating robust record-keeping and compliance documentation.
FAQ's of Bundle cable combustion testing machine:
Q: How does the Bundle Cable Combustion Testing Machine operate for fire performance testing?
A: The machine utilizes a propane or methane gas burner, adjustable to 20 or 45, to expose bundled cables to specified flame conditions for 15 minutes as per IEC/EN 60332-3. The process is PLC controlled, with automated timing and flame monitoring to ensure precision and repeatability.Q: What cables and test configurations can be accommodated by the machine?
A: It can test cable bundles up to 3 meters long, with multiple diameters, arranged on rungs or bars with 300 mm vertical spacing. The equipment supports 1 to 12 specimens per test, offering versatility for manufacturers and compliance testing laboratories.Q: When is it recommended to perform fume extraction and water cooling during operation?
A: Fume extraction is essential throughout the combustion test to maintain safe air quality and visibility. Water cooling is recommended during extended or high-intensity testing to ensure safe operation and maintain equipment longevity.Q: Where is the Bundle Cable Combustion Testing Machine typically installed?
A: This floor-standing apparatus is designed for laboratory or industrial environments where fire performance testing is essential. Installation requires access to a suitable fume extraction system and AC 220V, 50Hz power supply.Q: What safety features protect users during testing?
A: Safety mechanisms include an emergency stop button, overheat protection, a flame arrestor, heat-resistant glass observation window, and automatic smoke removal. These features collectively reduce risks during high-temperature fire testing.Q: How is data from cable combustion testing stored and exported?
A: Test data is saved on the internal memory and can also be exported via USB or RS232 interface. Test results, including flame height and duration, are displayed on a digital LCD screen for easy analysis and reporting.Q: What are the main benefits of using this machine for fire resistance testing?
A: The equipment delivers highly accurate, standards-compliant results with rapid response time. Its robust design supports a wide range of cable testing needs, enhances safety, simplifies data management, and streamlines quality assurance processes for manufacturers and suppliers.Tell us about your requirement

Price:
Quantity
Select Unit
- 50
- 100
- 200
- 250
- 500
- 1000+
Additional detail
Mobile number
Email

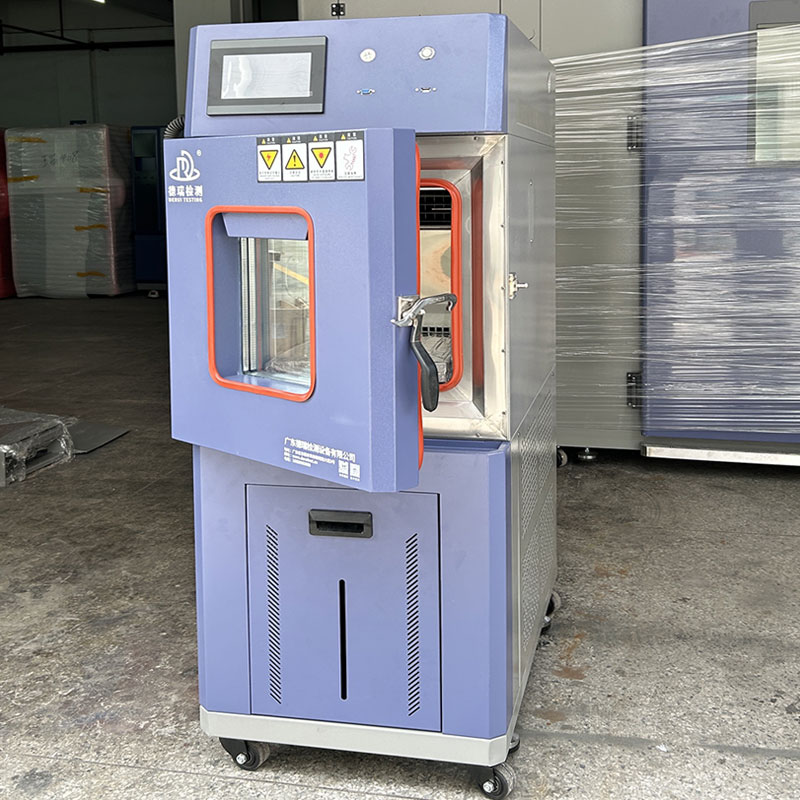
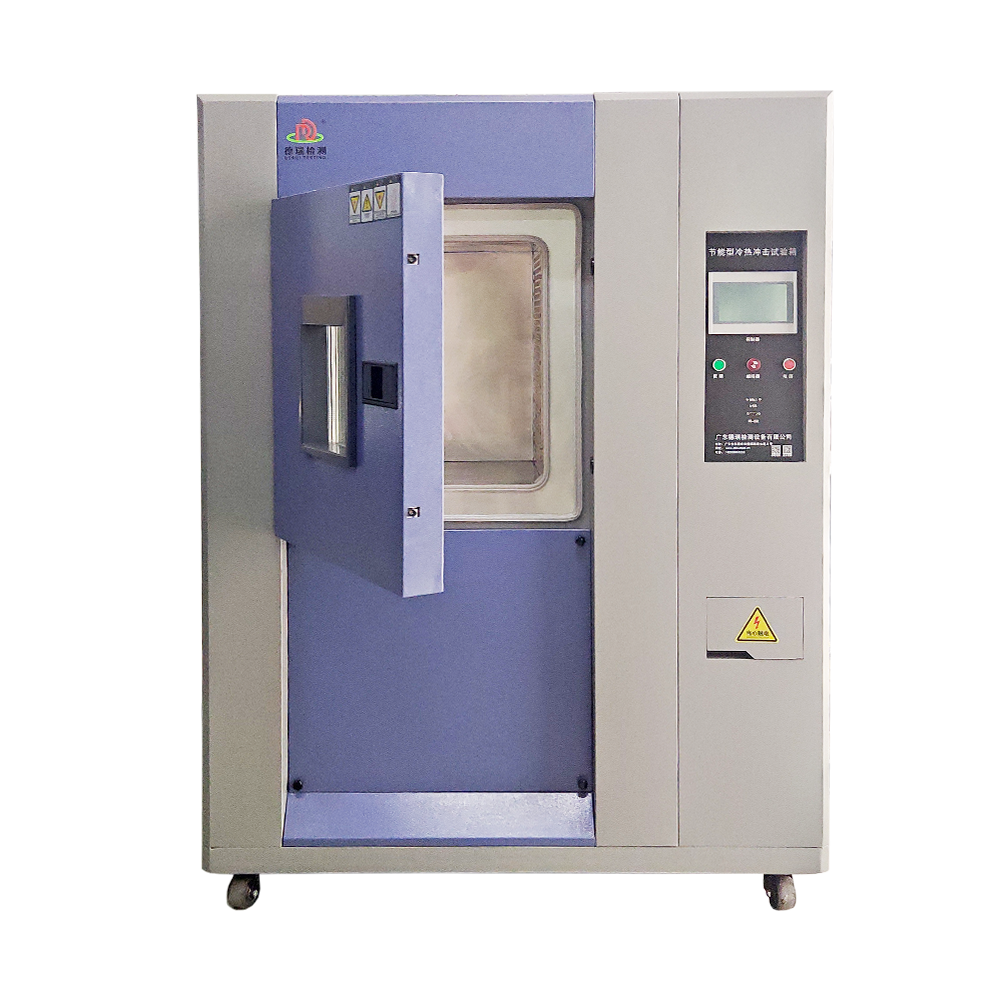
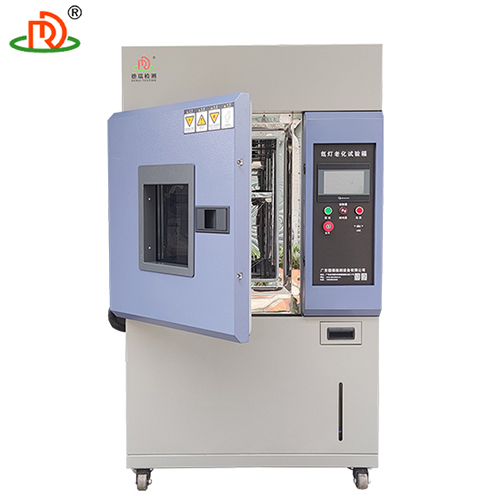
Other Products in 'Environment Test Chamber' category

Contact Details
- 1st Floor, No. 3, Shugang Avenue, Hongmei Town,Dongguan Guangdong, China
- Mr. Shirley (Manager)
- Mobile : +8615580327593
- Send Inquiry
-

Derui Testing Equipment Co., Ltd

Derui Testing Equipment Co. Ltd
All Rights Reserved.(Terms of Use)
Developed and Managed by Infocom Network Private Limited.
Developed and Managed by Infocom Network Private Limited.
 English
 Spanish
 French
 German
 Italian
 Chinese (Simplified)
 Japanese
 Korean
 Arabic
 Portuguese