
xenon aging test chamber manufacturers
418005.0 INR/Unit
Product Details:
- Display Type Touchscreen Digital Display
- Number of Specimens Up to 24
- Specimen Size Standard or Custom
- Temperature 10C ~ 70C
- Features Programmable, Data Logging, Overheat Protection
- Response Time Instantaneous
- Frequency 50/60 Hz
- Click to view more
X
xenon aging test chamber manufacturers Price And Quantity
- 418005.0 INR/Unit
- 1 Unit
- Available as per client requirement
- Air or Water Cooling
- Water-cooled Xenon Arc Lamp
- 1~99 min adjustable
- Forced Air Circulation
- Optional
- Powder Coated Steel
- 1500-2000 h
- SUS304 Stainless Steel
- Leakage Protector, Over-temperature Alarm
- 0~9999 h
- ASTM, ISO, GB, EN, IEC
- Auto and Manual Adjustment
xenon aging test chamber manufacturers Product Specifications
- Automatic
- Xenon Aging Test Chamber
- 0-1200 W/m2
- Floor Standing
- 220V/50Hz
- AC 220V
- 0.5 MPa
- Programmable Controller
- Laboratory/Industrial
- Customizable
- 1800 mm
- 30% ~ 98% RH
- UV, Visible, Infrared Light Simulation
- Programmable, Data Logging, Overheat Protection
- Instantaneous
- 10C ~ 70C
- Standard or Custom
- Touchscreen Digital Display
- Up to 24
- 50/60 Hz
- Adjustable
- RS232/USB
- Accelerated Weathering and Lightfastness Testing
- 408 Liters
- 350 kg
- 0.5C / 2% RH
- DN25
- 0.1C / 0.1% RH
- Standard
- Available as per client requirement
- Air or Water Cooling
- Water-cooled Xenon Arc Lamp
- 1~99 min adjustable
- Forced Air Circulation
- Optional
- Powder Coated Steel
- 1500-2000 h
- SUS304 Stainless Steel
- Leakage Protector, Over-temperature Alarm
- 0~9999 h
- ASTM, ISO, GB, EN, IEC
- Auto and Manual Adjustment
xenon aging test chamber manufacturers Trade Information
- Cash in Advance (CID)
- 100 Unit Per Month
- 7 Days
- All India
Product Description
xenon aging test chamber Standard Features
| Model | DR-H301 |
| Internal dimension (WxDxH) | 500*600*500mm |
| External dimension (WxDxH) | 1000*1000*1750mm |
| Temperature range | RT+10~ 60 (suggest to use 402) |
| Temperature Fluctuation | 1 |
| Ozone concentration | 50~1000 pphm, adjustable |
| Ozone concentration deviation | 10% |
| Sample holder | SUS#304 stainless steel |
| Temperature controller | Programmable touch screen controller |
| Ozone concentration analysis | Concentration analysis meter |
| Ozone generator | High pressure silence discharge type |
| Protection system | Leakage, short circuit, over temperature, over heat |
| Test criteria | ASTM D1149, ISO 1431, JIS K6259... |
Installation steps
1. Site preparation
Space planning: Reserve operation and maintenance channels (front and back 1m, left and right 0.8m) based on equipment size (such as model DR-H301-1 size 1000 * 1000 * 1750mm).
Pre embedded water and electricity:
Power cord: It is recommended to use a 6mm copper core wire with an independent air switch (with overload protection).
Drainage pipe: diameter 50mm, slope 5 , connected to laboratory wastewater treatment system.
2. Equipment handling and positioning
Use forklifts or lifting equipment (with forklift slots reserved at the bottom), and it is strictly prohibited to tilt beyond degrees.
Adjust the anchor bolts after placement, and calibrate the levelness of the equipment with a level gauge (error 2mm/m).
3. Water and electricity connection
Power connection:
1. Confirm that the phase sequence is correct (L1/L2/L3 and N lines cannot be reversed).
2. Use a multimeter to detect voltage fluctuations of 10%.
Waterway connection (optional function):
1. Connect the deionized water pipeline and install a pressure reducing valve and flow meter (0.5~2L/min).
2. Install U-shaped elbows on drainage pipes to prevent gas backflow.
4. System initialization
1. Power on self-test:
Turn on the main power, and the touch screen will automatically detect the status of sensors, xenon lamps, and temperature and humidity modules after startup.
If there is an alarm prompt (such as E01: temperature sensor fault), follow the prompt to troubleshoot.
2. First calibration:
Use a standard radiometer (such as 340nm band) to calibrate the light intensity, and adjust the position of the lamp tube when the error is greater than 5%.
3. Trial operation test:
Run the 'standard cycle program' without load (60 minutes of light exposure+10 minutes of spraying), and observe whether the temperature and humidity fluctuations are within 2% range.
Key precautions
Safety protection:
An independent leakage protector must be installed, and it is prohibited to share the circuit with other high-power equipment.
When the xenon lamp is lit, it is strictly prohibited to look directly at the light source, and the test chamber door must not be opened while the equipment is running.
Maintenance tips:
Clean the filter and lamp surface every 500 hours (wipe with anhydrous ethanol).
Replace the xenon lamp every 2000 hours (even if it is not damaged, spectral attenuation may affect test accuracy).
Fault prevention:
When the ambient temperature exceeds 35 , the overheat protection shutdown will be automatically triggered.
Regularly check the water level in the water tank (recommended once a week) to avoid damage to the water pump due to idling.
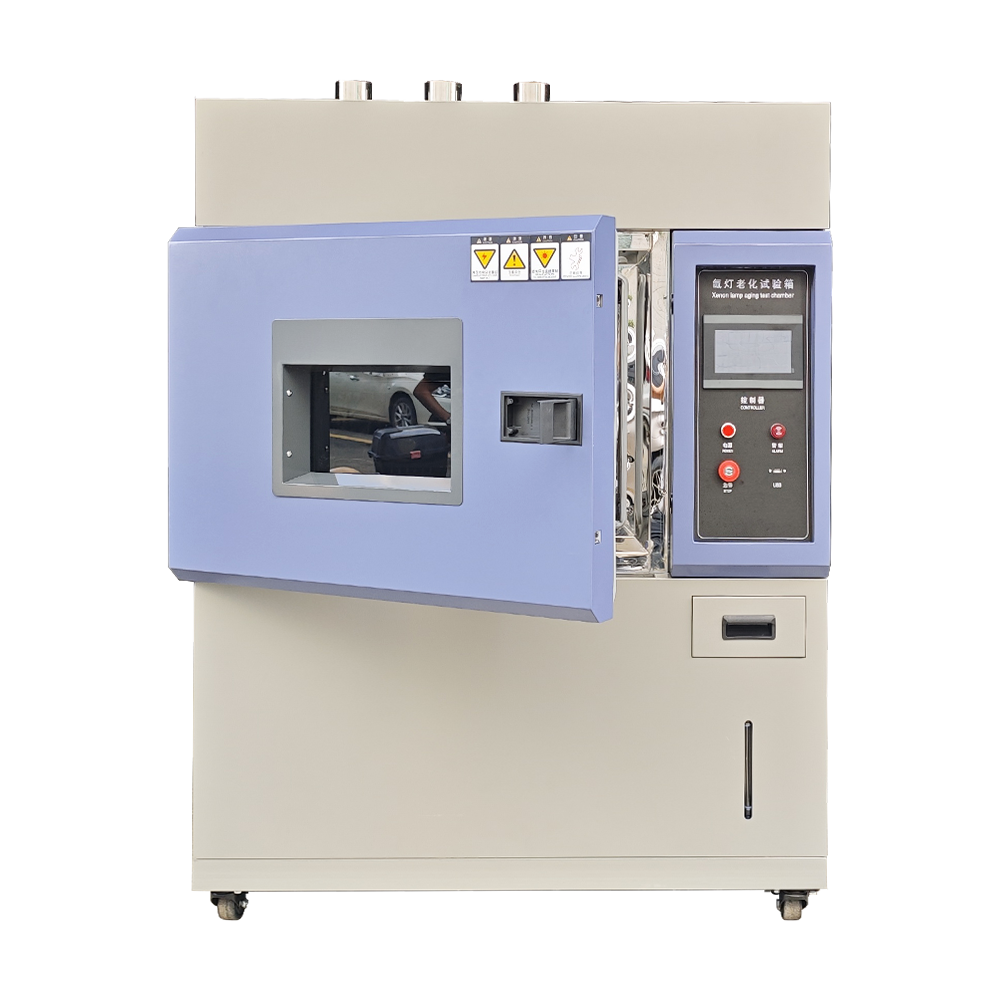
Derui Testing is a professional manufacturer of environmental testing equipment, providing a variety of testing equipment including xenon lamp aging test chambers. The xenon lamp aging test chamber is mainly used to simulate various comprehensive climate conditions such as solar radiation, temperature, humidity, condensation, rain, etc., to evaluate the weather resistance and aging performance of materials and products in atmospheric environments.
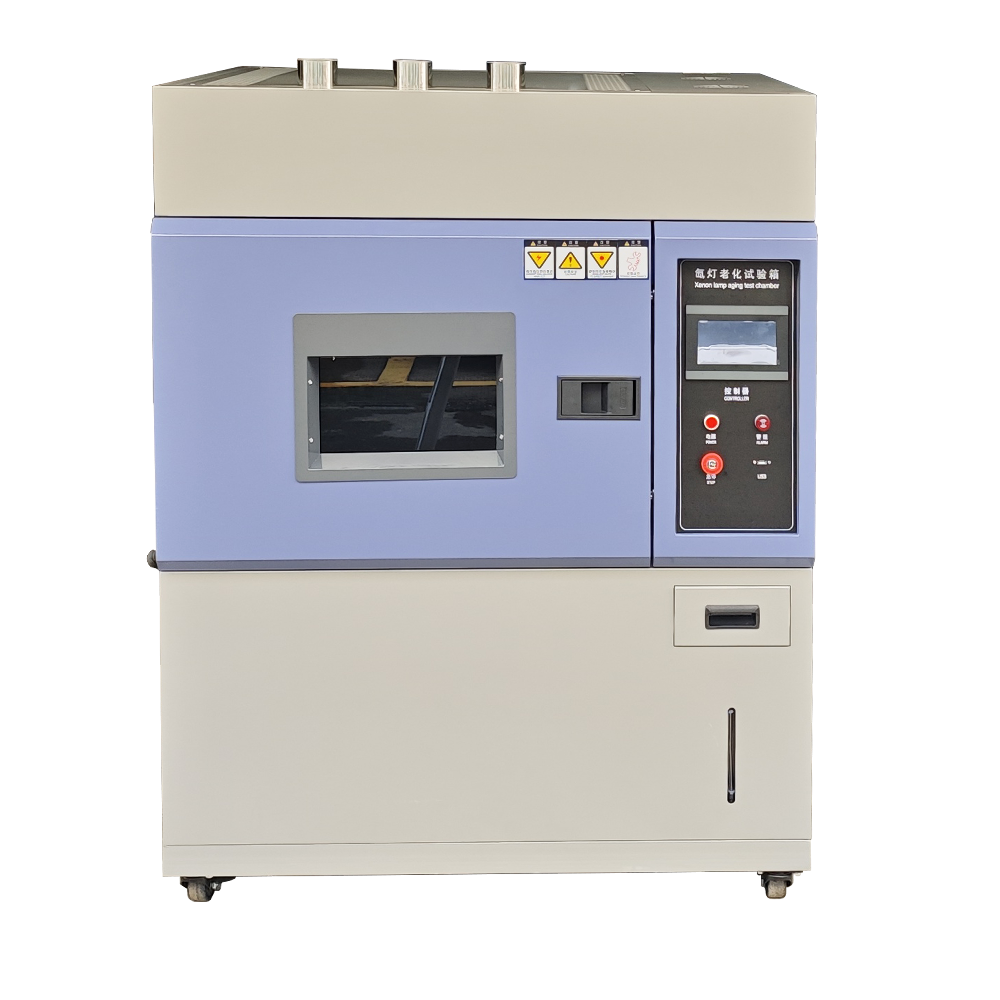
Versatile Test Chamber Construction
Built with premium SUS304 stainless steel for the inner chamber and powder-coated steel for the exterior, our xenon aging test chamber is engineered for maximum resilience. The forced air circulation system maintains uniform temperature and humidity, supporting precise and consistent results for a variety of sample types. This robust unit boasts an intuitive touchscreen digital display and programmable controller for effortless operation and monitoring.
Advanced Performance and Safety Features
This chamber incorporates a water-cooled xenon arc lamp, delivering a wide test range that includes UV, visible, and infrared light simulation. Irradiation intensity can be auto or manually adjusted, while overheat protection and leakage alarm systems provide robust safety. The timer supports up to 9,999 hours, and a responsive RH and temperature control system ensures accuracy within 0.5C / 2% RH. The equipment supports data logging, remote access, and programmable automation.
Customization and Compliance
We offer customizable options to match your exact research or industrial needs-tailoring specimen size, test stroke, and remote control functionality. Our chambers adhere to major international standards, including ASTM, ISO, GB, EN, and IEC, making them suitable for global certification and export. The intuitive data interface (RS232/USB) and easy-to-adjust test parameters allow seamless integration into any lab or testing workflow.
FAQ's of xenon aging test chamber manufacturers:
Q: How does the water-cooled xenon arc lamp enhance aging test accuracy in your chamber?
A: The water-cooled xenon arc lamp in our chamber maintains stable light output and precise temperature control. This stability accurately simulates sunlight exposure, leading to highly reliable and repeatable accelerated weathering and lightfastness test results.Q: What materials are used in the construction of the xenon aging test chamber, and why are they important?
A: The inner chamber is made from SUS304 stainless steel, ensuring corrosion resistance and a long lifespan. The exterior powder-coated steel provides additional durability and aesthetic appeal, making the chamber suitable for both laboratory and industrial use.Q: When is it advantageous to use air cooling versus water cooling as the chamber's cooling method?
A: Air cooling is ideal for general laboratory environments where easy installation and low maintenance are priorities. Water cooling is preferred when precise temperature stability is required, especially under intensive or prolonged test conditions, to efficiently dissipate heat generated by the xenon lamp.Q: Where can your xenon aging test chambers be installed, and what mounting options are available?
A: Our chambers are designed for versatility and can be installed in laboratories or industrial settings. They feature a floor-standing mounting type, ensuring stability and ease of access for routine use and maintenance.Q: How are the test process and parameters controlled and monitored in the chamber?
A: A programmable controller allows users to set temperature, humidity, irradiation intensity, and test duration. All parameters are displayed on a touchscreen digital display for real-time monitoring. Data can be logged automatically and exported via RS232 or USB interfaces for analysis.Q: What is the benefit of compliance with ASTM, ISO, GB, EN, and IEC standards for your test chambers?
A: Compliance ensures the chamber meets international quality and performance requirements. This guarantees reliable results accepted globally, facilitating export, certification, and standard-compliant product testing.Q: How many specimens can be tested simultaneously, and can specimen size or test stroke be customized?
A: Up to 24 specimens can be tested at once. Both specimen size and test stroke are customizable to accommodate unique research or production requirements, offering flexibility for diverse applications.Tell us about your requirement

Price:
Quantity
Select Unit
- 50
- 100
- 200
- 250
- 500
- 1000+
Additional detail
Mobile number
Email

Other Products in 'Environment Test Chamber' category

Contact Details
- 1st Floor, No. 3, Shugang Avenue, Hongmei Town,Dongguan Guangdong, China
- Mr. Shirley (Manager)
- Mobile : +8615580327593
- Send Inquiry
-

Derui Testing Equipment Co., Ltd

Derui Testing Equipment Co. Ltd
All Rights Reserved.(Terms of Use)
Developed and Managed by Infocom Network Private Limited.
Developed and Managed by Infocom Network Private Limited.
 English
 Spanish
 French
 German
 Italian
 Chinese (Simplified)
 Japanese
 Korean
 Arabic
 Portuguese